If you want to develop an Android application or game, it’s essential to have Java Development Kit (JDK), Android command line tools, and the SDK. With utilities like keytool, you can generate app signing keys, with, adb debug the application on a real device, with sdkmanager you can install Android SDKs and so on.
In this tutorial you will learn how to install OpenJDK, Android command line tools and SDK on Debian/Ubuntu Linux system without having to install heavy Android Studio. It also may be suitable for other Linux distributions, just make sure to install proper packages.
Install OpenJDK 11
To install Open Java Development Kit version 11.0.16+ (it will install the latest), run the following commands:
sudo apt update
sudo apt install openjdk-11-jdk
After installation, you can check if Java installed by running java -version and javac -version. It should output the current version of tools.
Configure environment variables
Java tools will be installed in JAVA_HOME environment variable. Therefore you need to set this variable properly. Also, add /bin subdirectory from Java home to PATH, so programs from there are accessible without prefixes. To do so, add this to the end of your ~/.bashrc file:
export JAVA_HOME=$(dirname $(dirname $(readlink -f $(which java))))
export PATH=$PATH:$JAVA_HOME/bin
First command takes full path to java executable, reads this symbolic link, gets parent of the parent directory and sets the final value to JAVA_HOME variable. Second command appends bin directory from JAVA_HOME to PATH. Relaunch your terminal or run source ~/.bashrc to read new variables.
Install Android command-line tools
I recommend downloading Android packages from the official Android developer website instead of using your Linux distribution Android packages. Go to https://developer.android.com/studio/#command-tools and download the Linux archive.
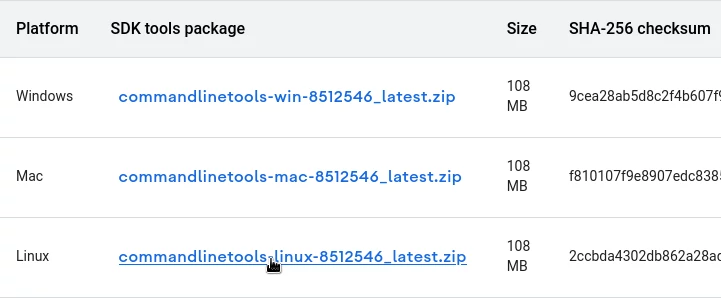
Read Android Software Development Kit License Agreement and confirm to continue. Then navigate to Downloads and install the tools:
cd ~/Downloads
unzip commandlinetools*.zip
sudo cp cmdline-tools/bin/* $JAVA_HOME/bin/
sudo cp -r cmdline-tools/lib/* $JAVA_HOME/lib/
Install Android SDK
Create a directory where Android SDK will be installed (~/Android/Sdk is the recommended path):
mkdir -p ~/Android/Sdk
Now you need to install Android SDK. I used the command below. I took it from Godot Engine Android export guide.
sdkmanager --sdk_root=$HOME/Android/Sdk "platform-tools" "build-tools;30.0.3" "platforms;android-31" "cmdline-tools;latest" "cmake;3.10.2.4988404" "ndk;21.4.7075529"
Enter ‘y’ if you accept license terms. Wait for the command to finish execution. Next, set up Android-related environment variables:
export ANDROID_HOME=$HOME/Android/Sdk
export ANDROID_SDK_ROOT=$HOME/Android/Sdk
export PATH=$PATH:$ANDROID_HOME/tools
export PATH=$PATH:$ANDROID_HOME/platform-tools
Relogin to your shell or run source ~/.bashrcadb --version. Your should see something like this if everything is installed correctly:
Android Debug Bridge version 1.0.41
Version 33.0.2-8557947
Installed as /home/bob/Android/Sdk/platform-tools/adb